Hey there, fellow gamer! If you are trying to figure out how to get your favorite classic games running on your computer, you have come to the right place. Setting up emulation software can sometimes feel like trying to build a rocket ship, but I promise you it is actually super simple. Today, we are going to walk through how to set up for pblemulator from start to finish. I remember the first time I tried to do this, I got completely lost in confusing tech forums. That is exactly why I wrote this guide. We will skip the heavy tech talk and use simple, everyday words so you can start gaming in no time.
Before we jump into the step-by-step process, let us look at the quick facts about this awesome software. Having a clear overview helps you understand exactly what we are working with today.
| Feature / Detail | Information You Need to Know |
|---|---|
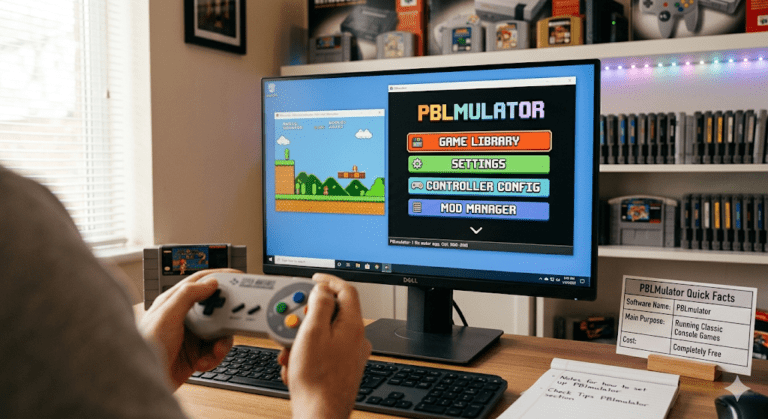
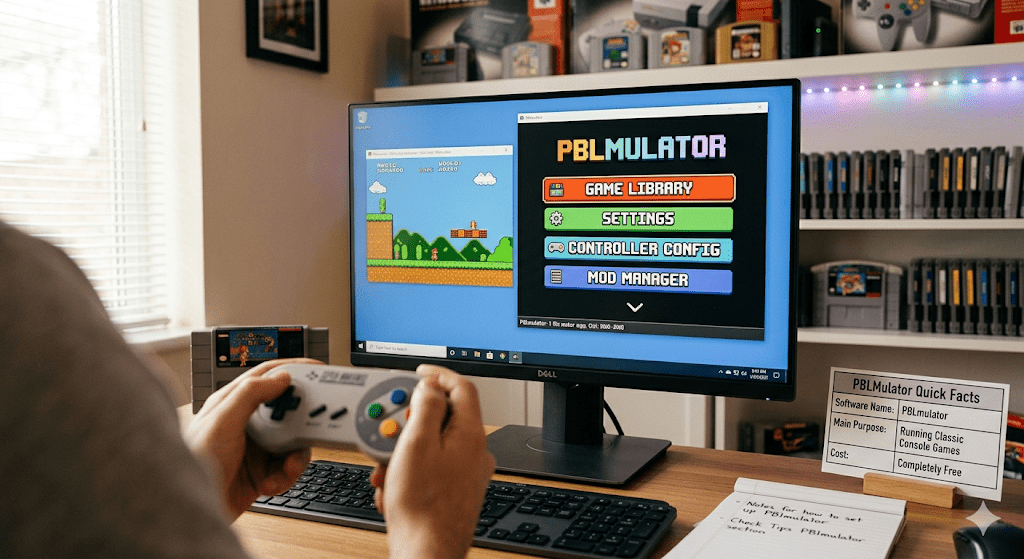
| Software Name | PBlmulator (Popular Retro Emulator) |
| Main Purpose | Running classic console games on modern PCs |
| System Requirements | Windows 10/11, 4GB RAM, Basic Graphics Card |
| Difficulty Level | Easy (Perfect for beginners and young gamers) |
| Cost | Completely free and open-source |
| Top Benefit | Highly customizable with great controller support |
What is This Amazing Retro Gaming Tool?
Before we dive into the actual settings, let us talk about what this software actually does. This tool is an emulator, which is just a fancy word for a program that mimics an old gaming console. It tricks the game into thinking your modern computer is actually a classic console from the past. When you set up for pblemulator, you open up a massive world of gaming history right on your desktop screen.
Many people love this specific software because it runs incredibly smoothly on almost any computer. You do not need a giant, expensive gaming PC to make it work properly. Even an older school laptop can usually handle it without breaking a sweat. It bridges the gap between old-school fun and modern convenience perfectly.
Why You Need a Good Setup Guide
You might wonder why you cannot just click a button and magically start playing your games. While the software is very user-friendly, missing a single step can cause the game to freeze or show a black screen. A proper set up for pblemulator ensures that your audio, video, and controllers all talk to each other without any annoying glitches.
Following a clean guide saves you from the massive headache of troubleshooting errors later on. I have spent hours staring at error codes just because I forgot to check one little box in the menu. This guide acts as your ultimate roadmap so you can avoid those silly mistakes entirely.
Finding the Right Files Safely
The very first thing you need to do is get the software files onto your computer. To do a proper install pblemulator process, you must download the files from a safe and official source. There are many sketchy websites out there that try to bundle bad software or viruses with emulator files. Always look for the official project repository or trusted community hubs.
When you download the package, it will usually come as a zipped folder to save space. Do not try to run the program from inside that zipped folder because it will not save your game progress. Instead, create a brand new folder on your desktop named “Retro Gaming” and extract everything there.
Step by Step Install PBlmulator Guide
Now that you have your clean files downloaded, it is time to perform the actual install pblemulator process on your system. Thankfully, this program does not require a long, boring installation wizard that changes your system settings. It is what we call a portable application, meaning it runs directly from the folder you created.
Open up your new folder and look for the main application file, which usually ends in .exe. Double-click that file to launch the program for the very first time. If your computer shows a security warning, do not panic. This is normal for indie gaming tools, so just click “Run Anyway” to open the main menu screen.
How to Set Up PBlmulator for the First Time
When the screen pops up, you might see a blank window with a lot of empty menus. Knowing how to set up pblemulator correctly starts with telling the program where to find your game files. Look at the top menu bar and click on the tab labeled “File” or “Paths” to open the configuration window.
Inside this menu, you will see an option to select your default games directory. Click the browse button, find the folder where you keep your games, and click select. This simple step allows the emulator to scan your collection and display all your games in a neat, beautiful list.
Mapping Your Controllers Perfectly
Playing classic games with a computer keyboard can feel really awkward and uncomfortable. For the best experience, you should definitely plug in a USB controller or connect a wireless gamepad via Bluetooth. Once your controller is connected to your PC, we need to map the buttons inside the settings menu.
Go to the “Input” or “Controller” settings tab inside the software interface. Click on each action, like the “A” button or “Start,” and then press the corresponding button on your actual controller. Setting up your controller correctly makes the games feel exactly like they did on the original console long ago.
Adjusting Video Settings for Crisp Visuals
Old games were designed for boxy, fuzzy television sets, not giant modern computer screens. If you want the games to look sharp, you need to adjust the video plugin settings. This is a crucial part of the set up for pblemulator journey if you hate blurry pixels.
Navigate to the “Video” or “Graphics” menu to change the resolution settings. You can choose to run the game in a neat window or scale it up to full-screen mode. I highly recommend turning on “Bilinear Filtering” if you want the edges of the characters to look smooth and clean.
Getting the Sound and Audio Just Right
There is nothing worse than playing an awesome game with crackling audio or delayed sound effects. If your audio sounds weird, it usually means the audio buffer size is set too low for your computer. Fixing this is a very quick and simple task inside the configuration panel.
Head over to the “Audio” tab and look for the latency slider. Moving this slider slightly to the right gives your computer more time to process the nostalgic game music perfectly. Test out a game to ensure the sound effects match the action happening on your screen.
Exploring Creative PBlmulator Mods
Once you have the basic game running smoothly, you can start exploring the world of pblemulator mods. These are cool, community-made add-ons that can completely change how your classic games look and play. Some mods add widescreen support to old games, while others completely replace old textures with high-definition graphics.
To use these mods, you usually just need to drop the mod files into a folder named “Mods” inside your directory. The emulator will automatically detect them the next time you boot up your favorite game. It is a fantastic way to breathe fresh, exciting life into games you have already beaten a hundred times.
Pro Tips PBlmulator for Smooth Gameplay
Let us talk about some advanced tips pblemulator users swear by to get the absolute best performance. First, always make use of the “Save State” feature inside the emulation menu. This allows you to save your exact position in a game at any split second, even during a tough boss fight.
Second, if a game is running way too fast, look for the “Frame Limit” option in the settings. Turning this on caps the game speed so it does not run at triple speed on your fast computer. These little adjustments turn a decent gaming session into a flawless retro experience.
Conclusion
Setting up your own retro gaming station does not have to be frustrating or difficult. By taking the time to properly set up for pblemulator, you unlock a massive library of timeless entertainment. Just follow the steps, map your controller buttons carefully, and do not be afraid to experiment with awesome pblemulator mods. Now, grab your favorite controller, load up a classic game, and have an absolute blast reliving gaming history!
Frequently Asked Questions
Why does my game lag when I use this software?
Game lag usually happens if your video settings are set too high for your computer chip. Try lowering the internal resolution back to native settings inside the graphics menu to fix this issue quickly.
Where can I find safe game files to play?
You should always rip game files from the physical game discs or cartridges that you already own legally. Downloading copyrighted games from random sites online is not recommended and can be dangerous for your PC.
Can I use a wireless PlayStation or Xbox controller?
Yes, absolutely! The software works beautifully with almost any modern wireless controller. Just connect the controller to your PC using Bluetooth before you start mapping the buttons in the configuration menu.
What should I do if the software completely crashes on startup?
If the program crashes instantly, you might be missing critical system files like DirectX or Visual C++ runtimes. Updating your Windows operating system usually installs these missing files automatically.
How do I install pblemulator updates safely?
To update your software, simply download the newest version from the official source. Extract the new files directly over your old folder, making sure to keep your existing configuration and save files intact.
Are pblemulator mods safe to download and use?
Most mods created by the active community are completely safe to use. To stay safe, only download mod packages from trusted community forums where other gamers leave helpful reviews and comments.